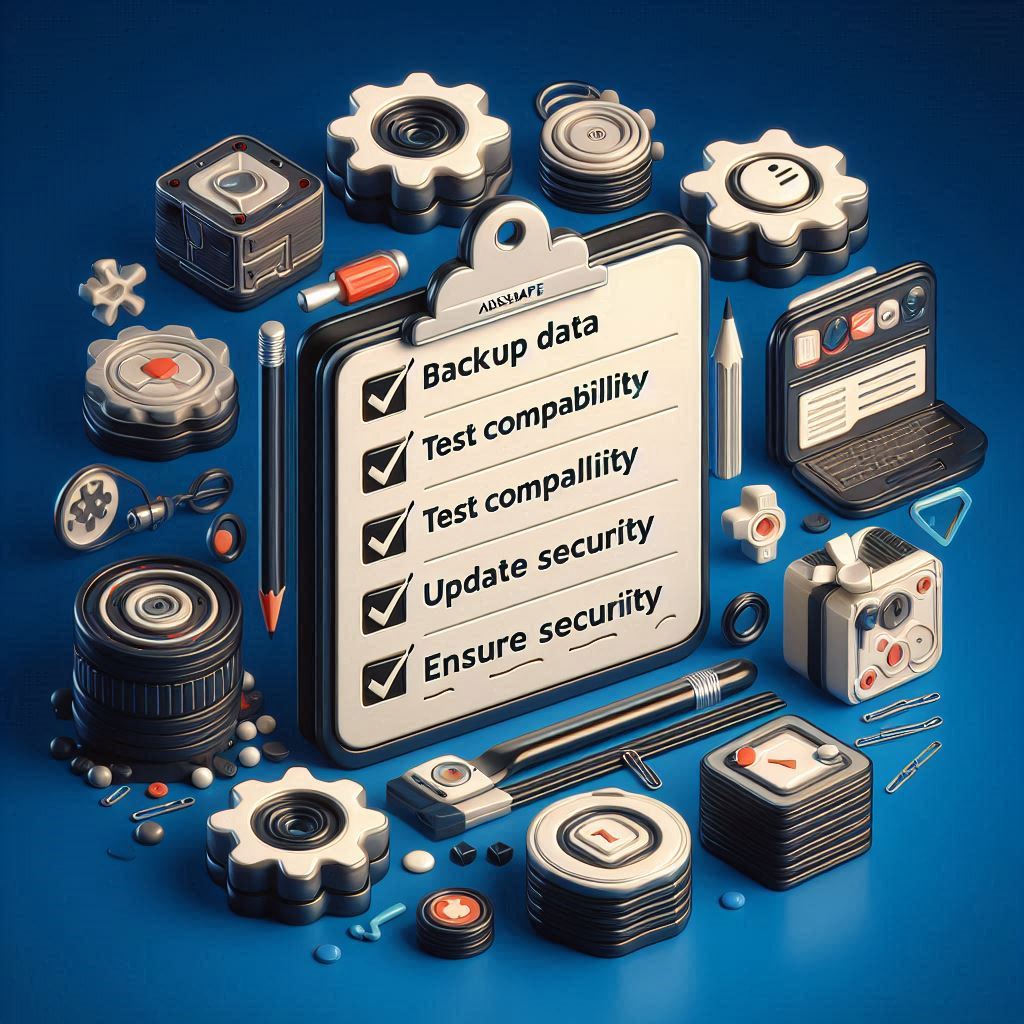
Upgrading your Zen Cart store is an essential task that ensures your website remains secure, functional, and efficient. However, if not approached carefully, the process can seem overwhelming, especially for businesses with complex setups or a lot of customizations. This guide will walk you through the steps of a hassle-free Zen Cart upgrade, so you can enjoy the benefits of the latest features and security enhancements with minimal stress.
1. Why Upgrade Zen Cart?
Before diving into the upgrade process, it’s important to understand why regular Zen Cart upgrades are necessary:
- Security Enhancements: Each new version of Zen Cart addresses known security vulnerabilities, safeguarding your store from potential attacks.
- Improved Functionality: Upgrades often come with new features that can enhance your store’s performance and user experience.
- Bug Fixes: Older versions may have bugs that cause errors or performance issues, which are typically fixed in newer versions.
- Compliance: Keeping your Zen Cart store up to date ensures that you remain compliant with industry standards, such as PCI DSS.
2. Pre-Upgrade Checklist
Before starting the upgrade process, make sure you’ve taken these essential steps to ensure a smooth transition:
a. Backup Everything
The first rule of any website upgrade is to create a complete backup of your site. This includes:
- Database Backup: Export your database to save all customer information, product details, orders, and settings.
- File Backup: Make a copy of all the core files, custom themes, modules, and media files from your server.
- Testing Environment: Set up a staging or development environment where you can test the upgrade without affecting your live website.
b. Check System Requirements
Each Zen Cart version has its own system requirements, including PHP and MySQL versions. Make sure your server meets the necessary requirements to avoid compatibility issues during or after the upgrade.
c. List Your Customizations
If you have custom code, third-party plugins, or unique modules installed, note them down. Customizations often need extra attention during an upgrade to ensure they work seamlessly with the new version of Zen Cart.
3. The Zen Cart Upgrade Process
Follow these steps to carry out a smooth Zen Cart upgrade:
a. Download the Latest Zen Cart Version
Head over to the official Zen Cart website to download the latest version. Always download files directly from the official site to avoid corrupted or tampered files.
b. Upload Files
Using an FTP client, upload the new Zen Cart files to your server, replacing the existing files. However, do not overwrite the following custom folders:
/images/includes/templates/includes/languages
These folders likely contain your customizations and should be preserved.
c. Run the Upgrade Script
Once the files are uploaded, Zen Cart provides an easy-to-use upgrade script that updates your database and completes the transition. This script can be found at:
www.yourstore.com/zc_install
Follow the on-screen instructions, and Zen Cart will guide you through the rest of the upgrade process.
d. Test Everything
Before making your site live again, thoroughly test your website in the staging environment. Check the following:
- Frontend Functionality: Ensure all pages load correctly, products display as expected, and the checkout process works without errors.
- Admin Backend: Make sure you can still manage products, customers, and orders in the admin area without any issues.
- Custom Features: Double-check that any custom modules or integrations are still functioning properly.
4. Common Pitfalls to Avoid
While Zen Cart upgrades are generally straightforward, there are some common issues you should watch out for:
- Outdated Plugins or Themes: Plugins or themes that haven’t been updated for the latest Zen Cart version can break your site. Check for compatibility before upgrading, and update them if needed.
- Skipped Backups: Never skip the backup step. If something goes wrong during the upgrade, you’ll want to restore your previous version quickly.
- Ignoring System Requirements: Running Zen Cart on outdated PHP or MySQL versions can lead to performance issues or even break your store after the upgrade.
5. Post-Upgrade Tips
Once your upgrade is complete and you’ve tested everything thoroughly, follow these best practices to ensure your site remains secure and functional:
a. Update Plugins and Extensions
After upgrading Zen Cart, make sure any third-party plugins or extensions you use are also updated to their latest versions to maintain compatibility.
b. Monitor Performance
Keep an eye on your website’s performance post-upgrade. Tools like Google Analytics and Google Search Console can help track any performance issues or broken links after the upgrade.
c. Implement Ongoing Security Practices
In addition to regular upgrades, secure your Zen Cart store with other best practices, such as strong passwords, SSL certificates, and firewalls.
6. Consider Professional Help
If you’re not comfortable managing the upgrade process yourself, or if your store has a lot of customizations, it may be best to hire a professional. A Zen Cart expert can help you avoid pitfalls and ensure a smooth, error-free upgrade.
Conclusion
Upgrading Zen Cart is essential for maintaining security, enhancing functionality, and ensuring smooth operations for your eCommerce store. While the process might seem intimidating at first, following a step-by-step approach and taking the necessary precautions can make it hassle-free. Regular upgrades will ensure that your site remains competitive, secure, and compliant with industry standards.
If you’re looking for expert help with Zen Cart upgrades, We offers hassle-free upgrade services tailored to your business needs. Contact us today for a smooth and secure Zen Cart upgrade experience!


